
- Understanding LiFePO4 Batteries
- Why Choose Solar Charging for LiFePO4 Batteries
- Determining the Solar Panel Size
- Selecting the Right Charge Controller
- Connecting the Solar Panel to the Charge Controller
- Understanding Battery Capacity and Voltage
- Configuring the Charge Controller Settings
- Monitoring the Charging Process
- Ensuring Proper Battery Maintenance
- Troubleshooting Common Issues
Charging LiFePO4 Batteries with Solar has become increasingly popular due to the numerous benefits these batteries offer. LiFePO4 (Lithium Iron Phosphate) batteries are widely used in various applications, including solar power systems. They boast advantages such as high energy density, extended lifespan, and superior safety features. Solar energy stands out as a dependable and environmentally friendly method for charging these batteries. In this article, we will guide you through the process of charging LiFePO4 batteries using solar power, step by step.
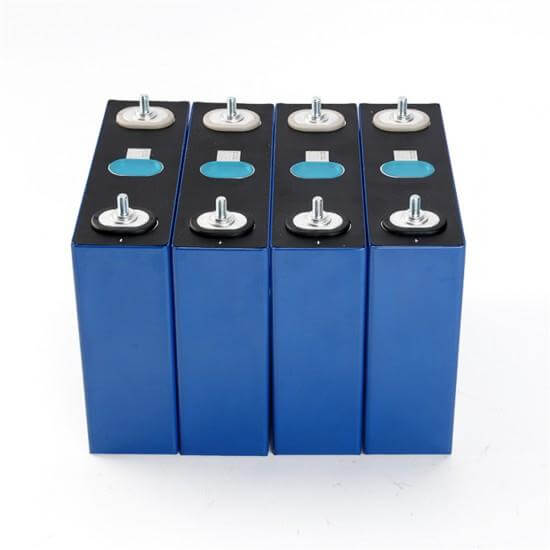
Understanding LiFePO4 Batteries
LiFePO4 batteries are a type of lithium-ion battery that uses lithium iron phosphate as the cathode material. These batteries are known for their high energy density, low self-discharge rate, and ability to withstand high charge and discharge currents. They are commonly used in renewable energy systems, electric vehicles, and portable electronics.
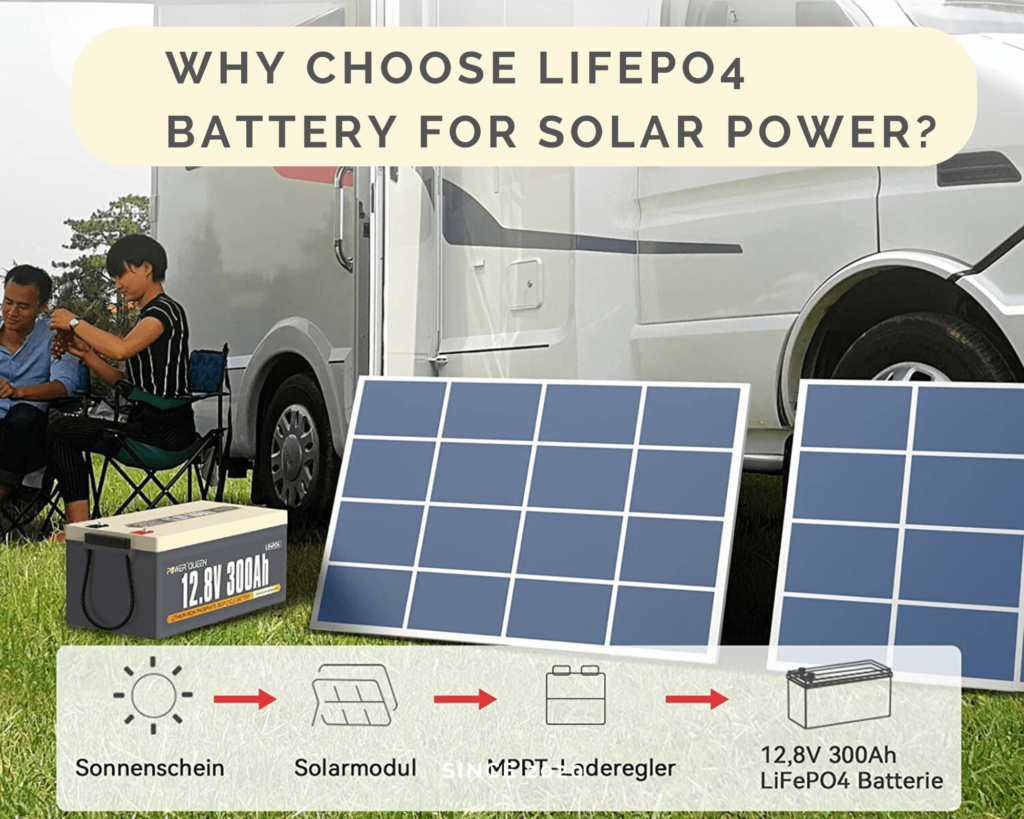
Why Choose Solar Charging for LiFePO4 Batteries
Charging LiFePO4 Batteries with Solar Energy offers several benefits when it comes to charging LiFePO4 batteries. Here are a few reasons why you should consider solar charging:
- Sustainable Energy Source: Solar energy is a renewable and sustainable energy source. By using solar power to charge your LiFePO4 batteries, you reduce your carbon footprint and contribute to a cleaner environment.
- Cost Savings: Charging LiFePO4 batteries with solar energy can help you save on electricity bills. Once you have set up a solar power system, the energy from the sun is free and abundant.
- Off-Grid Capabilities: Solar charging provides the flexibility to charge your LiFePO4 batteries even in remote locations where grid power is unavailable. This makes it ideal for camping, outdoor adventures, or backup power applications.
Determining the Solar Panel Size
To determine the appropriate solar panel size for charging your LiFePO4 batteries, you need to consider the battery capacity and the sun’s intensity in your location. Here’s a step-by-step process to determine the solar panel size:
- Calculate Your Daily Energy Usage: Determine the energy consumption of the devices connected to your LiFePO4 batteries. This will give you an idea of how much energy you need to replenish daily.
- Assess Solar Intensity: Research the average daily solar irradiation in your location. This information is usually available from solar maps or local weather stations.
- Size the Solar Panel: Divide your daily energy usage (Step 1) by the average solar irradiation (Step 2) to determine the required solar panel size in Watts. Add a safety margin of around 20% to account for variations in solar input and energy losses.

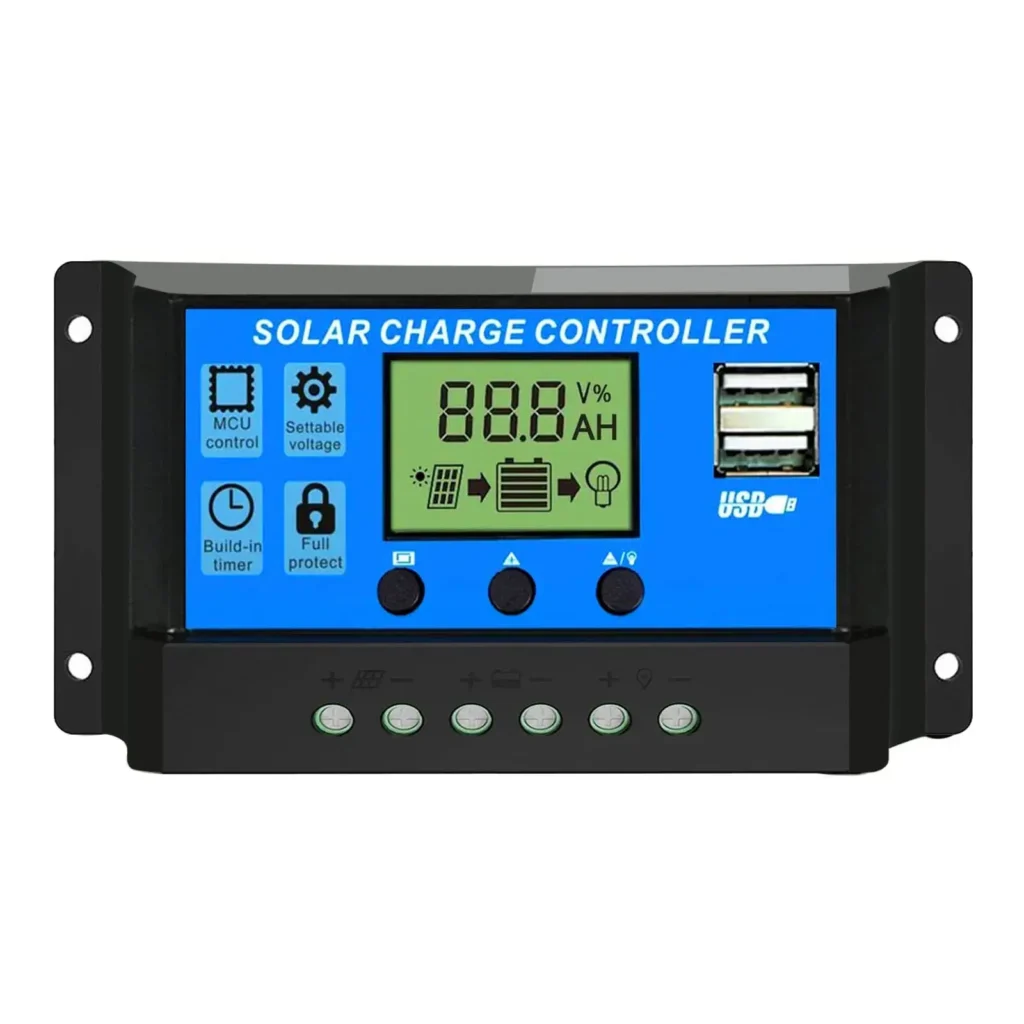
Selecting the Right Charge Controller
The charge controller plays a crucial role in the charging process, preventing overcharging and effectively managing the power flow from the solar panel to the LiFePO4 batteries. Follow these steps to select the right charge controller:
- Determine the Charge Controller Type: LiFePO4 batteries require a charge controller that is compatible with lithium batteries. Look for a charge controller specifically designed for use with LiFePO4 batteries.
- Consider the Charging Current: LiFePO4 batteries can handle higher charging currents compared to other battery chemistries. Choose a charge controller that supports the required charging current for your battery bank.
- Look for Advanced Features: Some charge controllers offer advanced features such as temperature compensation, battery temperature monitoring, and remote monitoring capabilities. Assess your requirements and choose a charge controller with the necessary features.
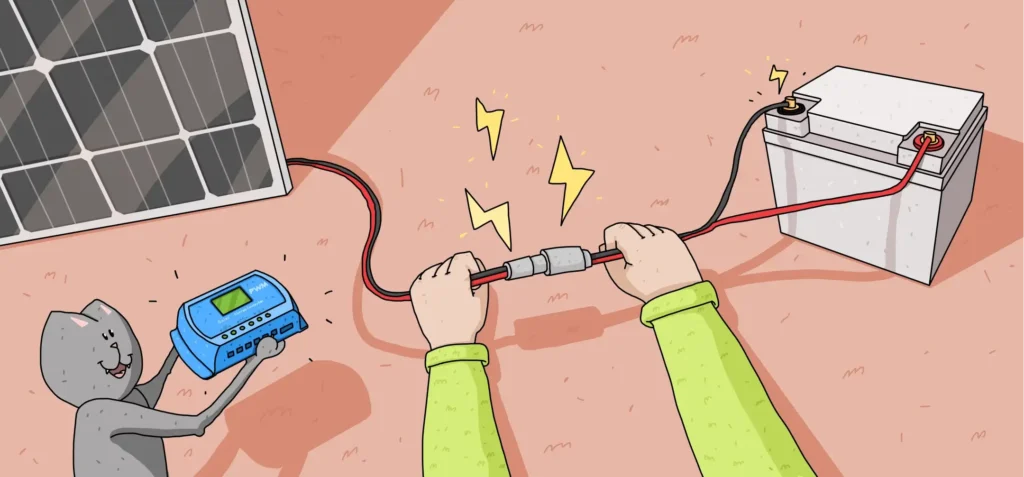
How to connect the Solar Panel to the Charge Controller?
Once you have selected the right charge controller, follow these steps to connect the solar panel to the charge controller:
- Position the Solar Panel: Mount the solar panel in a location where it receives maximum sunlight throughout the day. Ensure that there are no obstructions, such as trees or buildings, casting shade on the panel.
- Connect the Solar Panel to the Charge Controller: Use appropriately sized cables to connect the positive (+) and negative (-) terminals of the solar panel to the corresponding terminals on the charge controller. Follow the manufacturer’s instructions for proper wiring.
- Verify the Connection: Double-check the connections to ensure they are secure and properly tightened. Inspect the cable insulation for any damage or wear.
Understanding Battery Capacity and Voltage
Understanding the battery capacity and voltage is crucial for optimizing the charging process and prolonging battery life. Here are a few key points to consider:
- Battery Capacity: LiFePO4 batteries typically have a rated capacity expressed in Ampere-Hours (Ah). This indicates the amount of energy the battery can store. Consider the battery capacity when sizing your solar power system to meet your energy requirements.
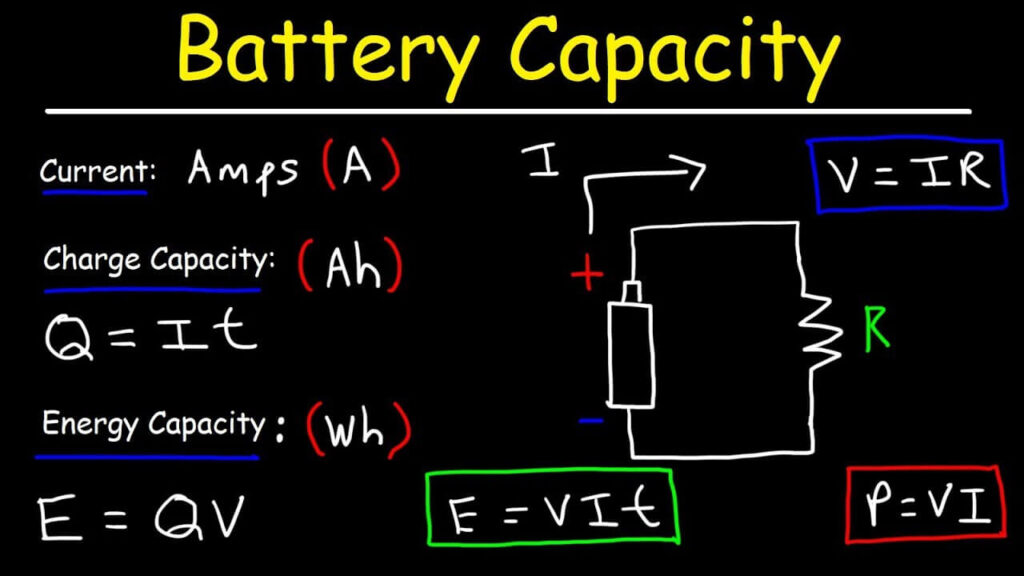
2. Battery Voltage: LiFePO4 batteries have a nominal voltage of around 3.2 to 3.3 volts per cell. The total voltage of the battery pack will depend on the number of cells connected in series.
Configuring the Charge Controller Settings
Properly configuring the charge controller settings ensures efficient and safe charging of your LiFePO4 batteries. Here’s a step-by-step guide to configuring the charge controller:
- Set Battery Type: Select the LiFePO4 battery type in the charge controller’s settings menu.
- Configure Charging Parameters: Set the charging parameters such as charging voltage, charging current, and absorption time according to the manufacturer’s recommendations for your specific LiFePO4 battery model.
- Enable Temperature Compensation: If your charge controller supports temperature compensation, enable this feature to adjust the charging parameters based on the battery’s temperature.
Monitoring the Charging Process
Monitoring the charging process helps you keep track of the battery’s state of charge and ensures the effectiveness of your solar charging system. Here are some important points to consider:
- Monitor Battery Voltage: Regularly check the battery voltage using a voltmeter or through the charge controller’s monitoring interface. This allows you to assess the battery’s state of charge and verify proper charging.
- Monitor Charging Current: Use the charge controller’s monitoring interface to monitor the charging current and ensure it is within the recommended limits for your LiFePO4 battery.
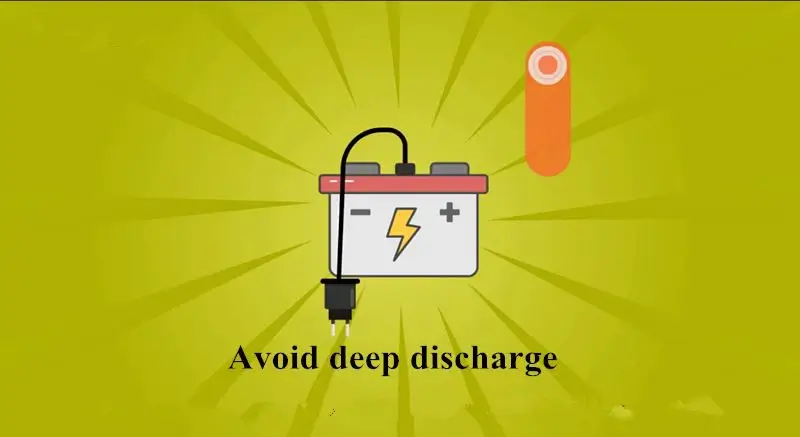
Ensuring Proper Battery Maintenance
Maintaining your LiFePO4 batteries properly is essential for their long-term performance and lifespan. Follow these guidelines for battery maintenance:
- Avoid Deep Discharge: LiFePO4 batteries perform best when they are not fully discharged. Try to maintain a minimum charge level of around 20% to prevent deep discharges.
- Prevent Overcharging: Overcharging can reduce the battery’s lifespan. Ensure that the charge controller is properly configured to prevent excessive charging.
- Keep Batteries Clean: Regularly inspect the battery terminals and clean them if necessary. Keep the battery and its surroundings free from dirt, dust, and moisture.
Troubleshooting Common Issues
If you encounter any issues with your LiFePO4 battery charging system, here are a few troubleshooting tips:
- Check Connections: Ensure all connections, including cables and terminals, are secure and properly tightened.
- Inspect Wiring: Inspect the wiring for any signs of damage, such as frayed or exposed wires. Replace any damaged wiring.
- Verify Charge Controller Settings: Double-check the charge controller settings to ensure they are correctly configured for LiFePO4 batteries.
- Monitor Battery Temperature: Excessive heat can affect the battery’s performance. Ensure that the battery is not exposed to high temperatures during the charging process.
In conclusion, charging LiFePO4 batteries with solar energy offers an efficient and sustainable way to power your devices. By understanding the battery’s capacity and voltage, selecting the right solar panel and charge controller, and following proper maintenance practices, you can ensure optimal performance and longevity for your LiFePO4 batteries. So go ahead, harness the power of the sun and enjoy the benefits of solar charging with LiFePO4 batteries.
Are you looking to learn more about Lithium Batteries and electrical systems? We understand how difficult it can be to build or upgrade an electrical system, so we’re here to assist. Reach Our sales and customer service team at [email protected].